
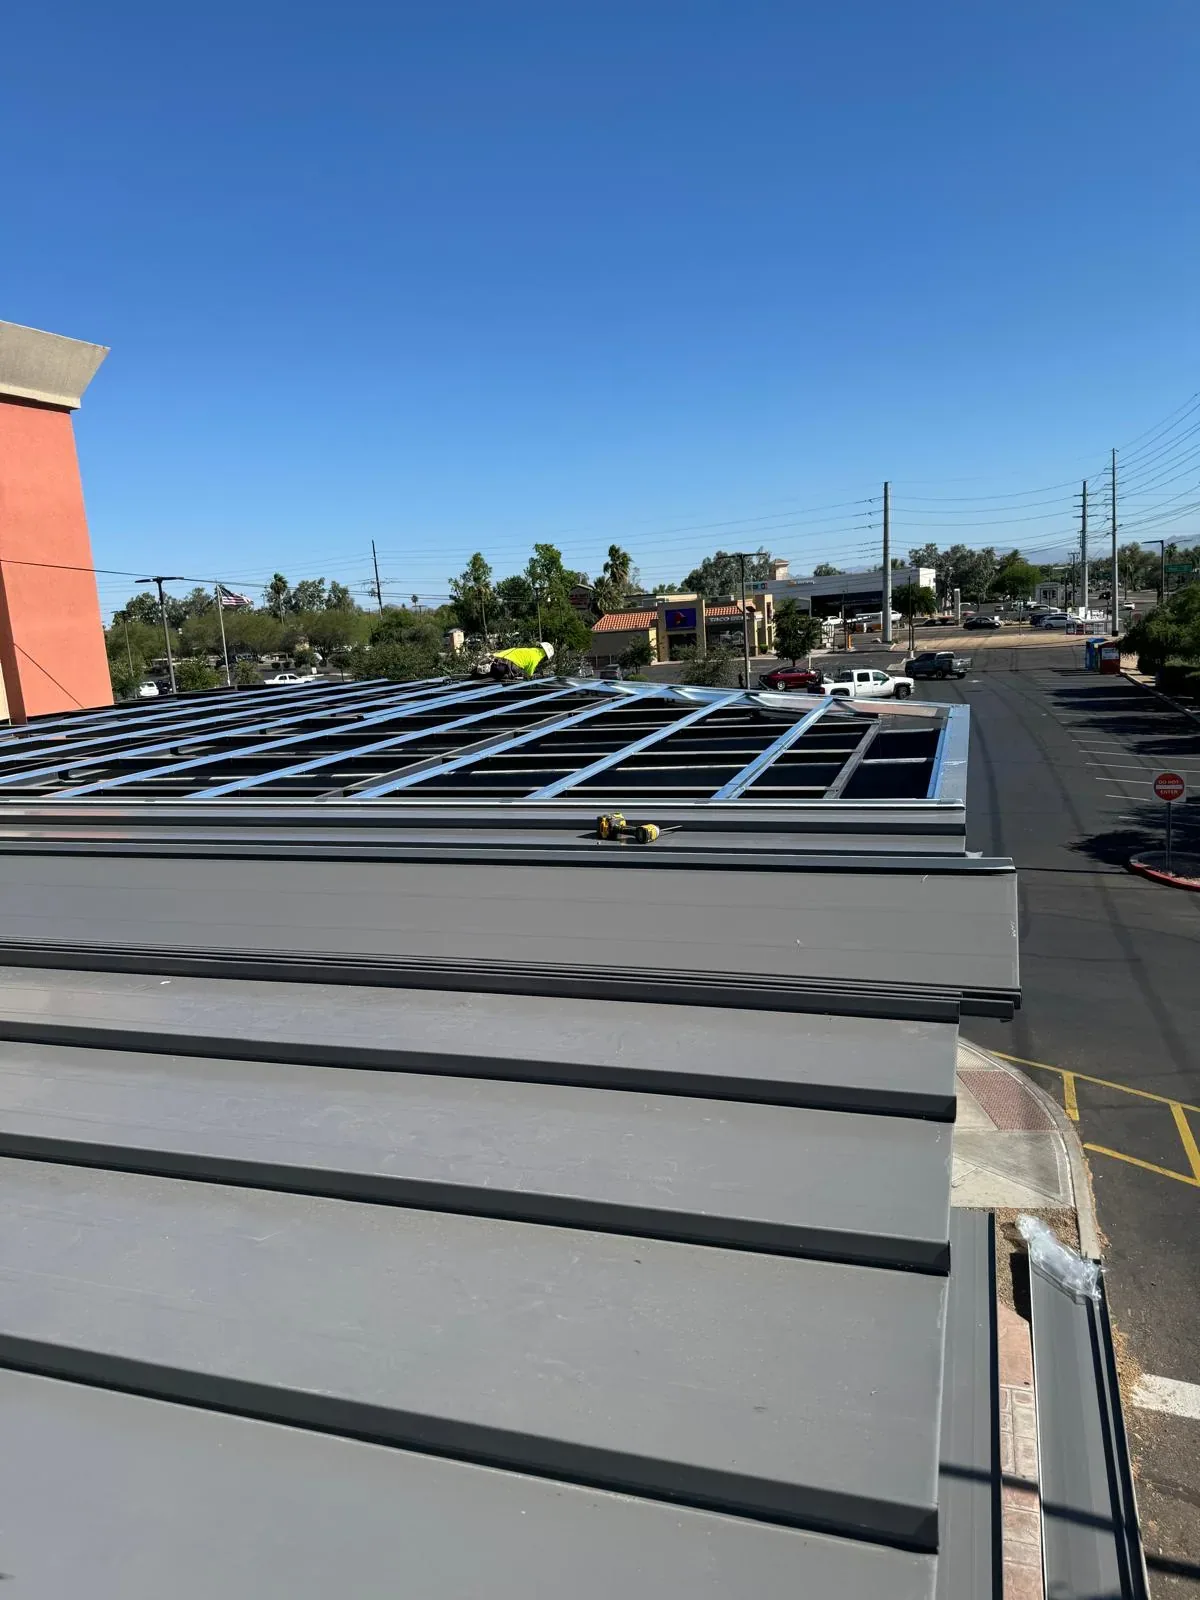
When the corner of a curb flashing opens up on a Chesapeake commercial roof, rain goes straight in. Flashing usually fails where the roof changes direction, at curbs, walls and penetrations, and often because the detail was not prepared well when it was installed. We inspect failed flashing, find out why it let go and explain the permanent repair. That includes checking whether the problem is just the flashing material, loose or rotten wood behind it, or a separate issue with the equipment or wall. Photos show the opening and how far the repair needs to go.
Anywhere in Chesapeake, a flashing leak should be traced to the actual wall, curb or penetration where water is getting in. The building contact tells us where water shows up inside and any access limits. We compare that with what we see on the roof, including the flashing, the wood behind it and nearby drainage, and photograph the damaged area. Old drawings help only if they match what is actually on the roof. Anything hidden that we cannot confirm is noted as a question to answer during the repair.
Great Bridge and Greenbrier are both part of our Chesapeake service area, but every building has its own roof and its own problems. The property contact should let us know about interior areas that need protecting and any equipment that cannot be shut down. We document the flashing, trace the likely water path and note what we could not inspect. That lets you compare a targeted repair with larger work without assuming that an unchecked wall or curb is damaged.
Why Flashing Corners Fail
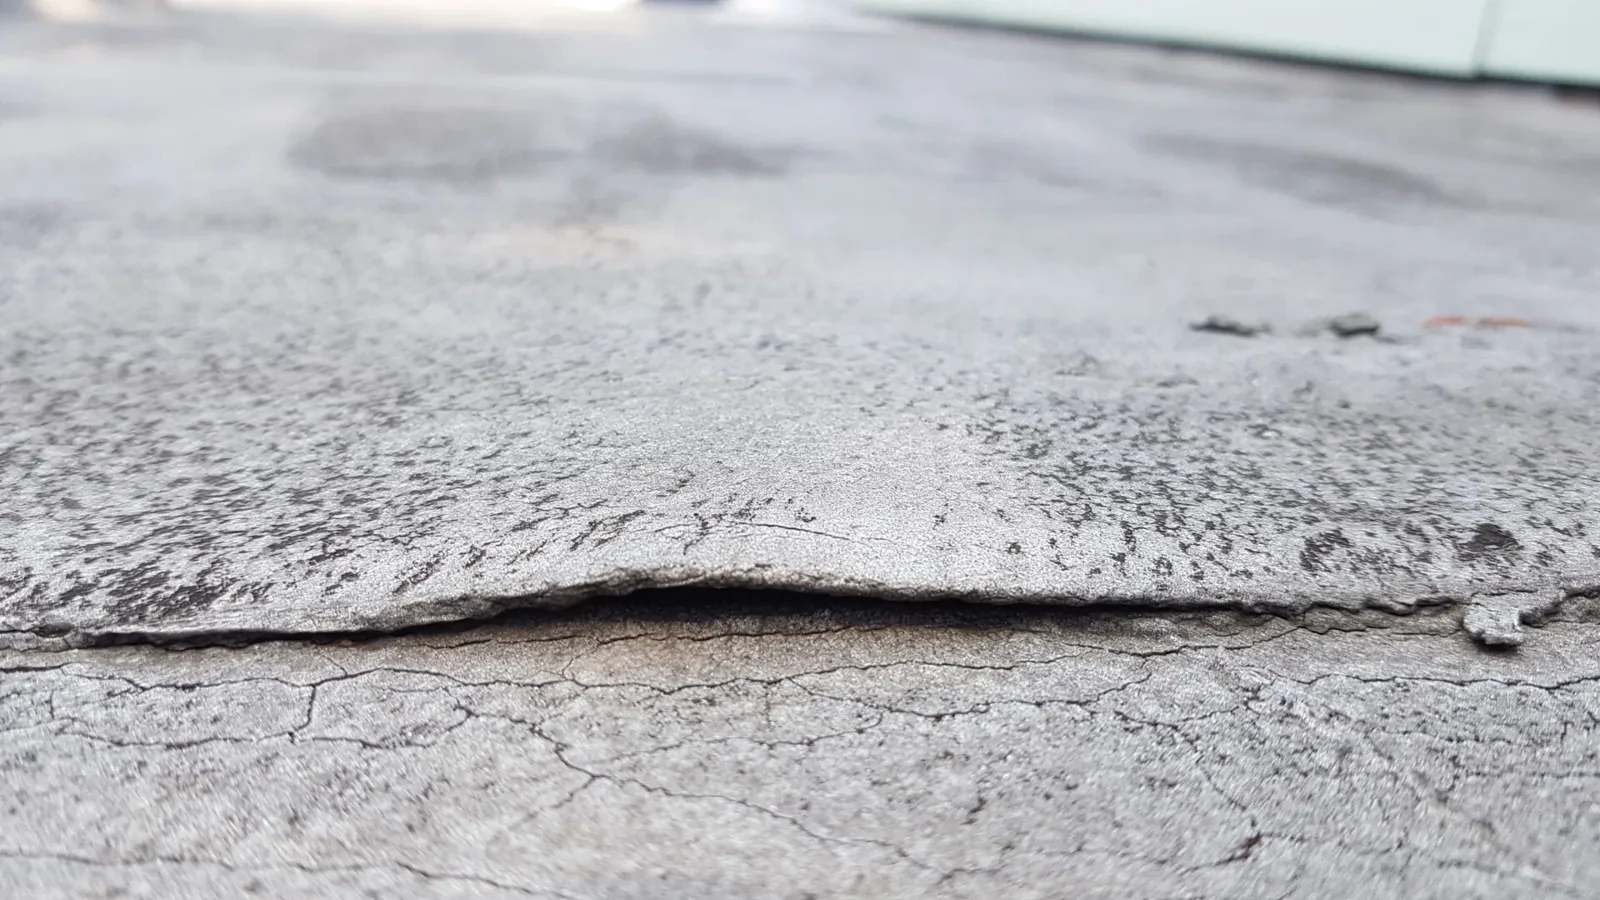
Flashing seals the roof membrane to a curb, wall or other interruption in the roof. Corners are the hardest part to get right, because the material has to fold or be cut and sealed around a change in direction. Loose fasteners, a poorly formed corner or rotten wood behind the flashing can all cause it to pull apart. We check all of that before deciding how to rebuild the detail. Smearing more sealant over a bad base does not fix it. If the equipment or wall above is leaking on its own, we point that out for the right trade.
Our skylight and penetration flashing repairs start from those findings. Jobs around Great Bridge get the same building-by-building inspection. Water often travels along the insulation or deck before it shows up as a stain inside, so we note the stain and when it appeared without treating it as the whole answer. Our recommendation explains where the flashing failed and what needs to be done to fix it permanently.
Fixing What Is Behind the Flashing
New flashing is only as good as what it is fastened to. If the wood nailer, sheathing or insulation behind the flashing is wet or rotten, a new detail will not hold for long. We check what we can reach and, where needed, open the area carefully to see more. Damaged material is replaced, and sound material is kept. If the replacement changes the height of the roof at the curb, we plan for that before ordering parts, so the new flashing fits properly.
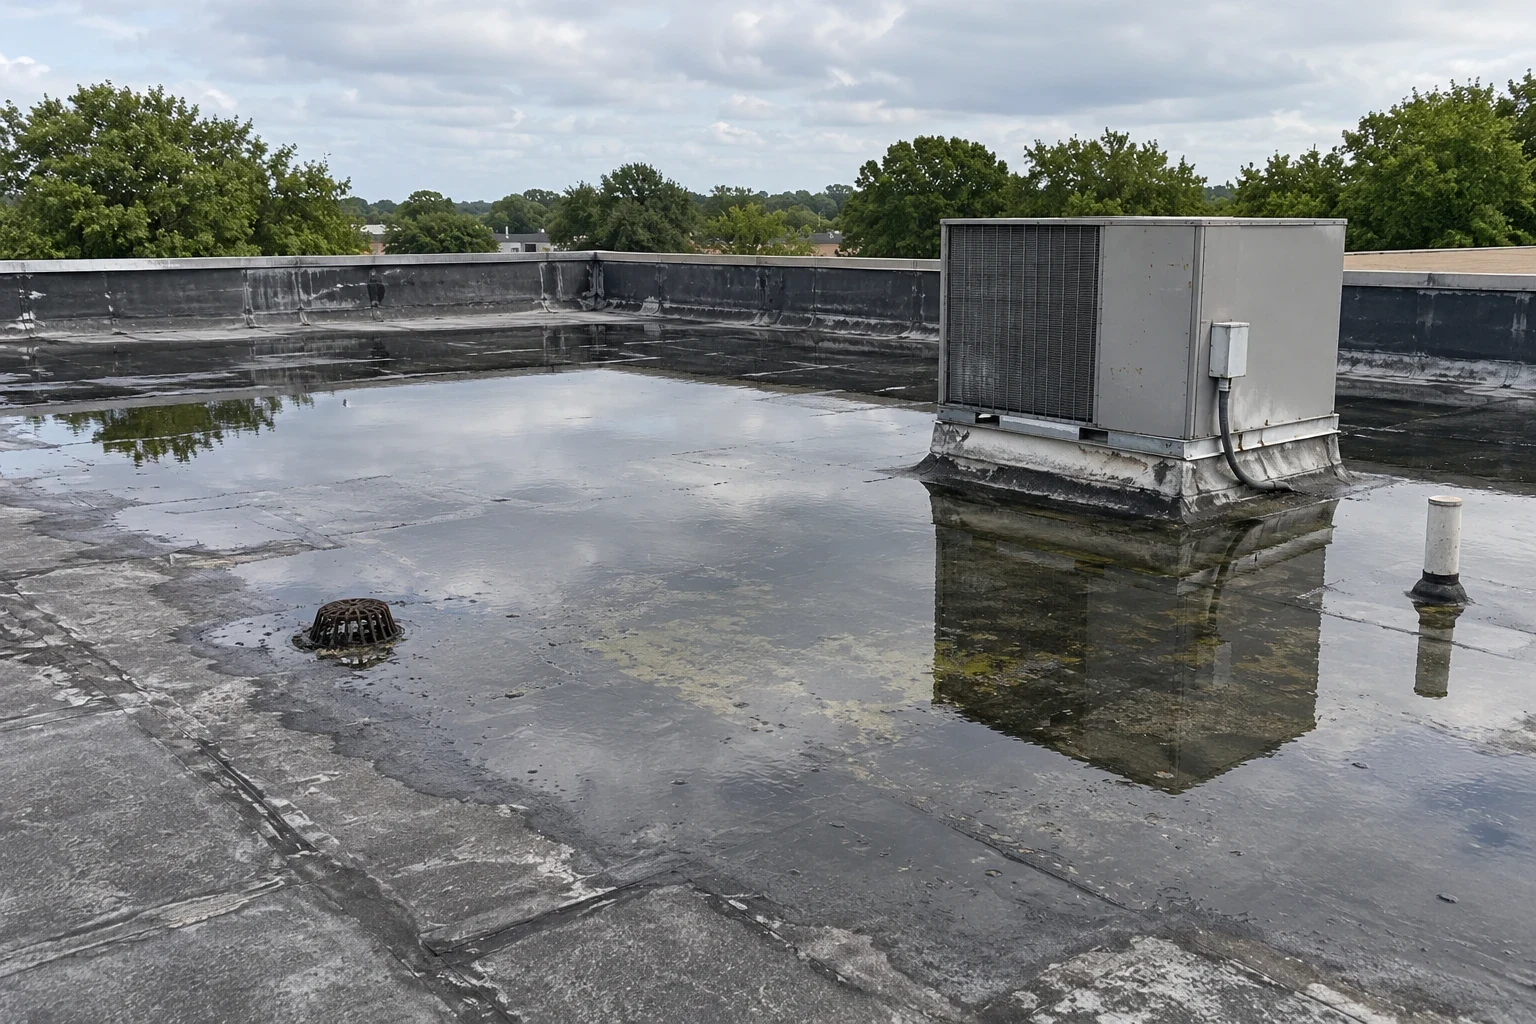
Our insulation and cover board repair covers the wet or damaged layers we find behind failed flashing. Where water is also ponding near the curb, a ponding water repair may be needed, since standing water puts constant pressure on flashing. We look at drainage and the surrounding roof together before deciding what to replace. If more damage turns up once the flashing is opened, we photograph it and explain what it adds to the repair.
Tying Into the Existing Membrane
The new flashing has to bond to solid membrane beyond the damaged corner. We check the surrounding membrane for aging, old sealant and previous patches that would prevent a good bond. Sometimes that means removing more than the obvious damage. The repair method, whether heat-welded, adhered or torched, determines how much clean surface is needed. Where a bond is in doubt, we may test it first. Corners and inside angles are built with proper corner pieces, not just a bigger patch.
Our commercial roof repair crews explain how far the repair has to extend and why. A nearby seam failure repair may be needed if a seam close to the flashing is also opening. If the equipment or wall itself needs work, we coordinate with that contractor before opening a wider area. We also make sure the weather is suitable for the repair method. That is why a good flashing repair sometimes ends up larger than the corner in the first photo.
Keeping the Building Dry During the Repair
Removing old flashing temporarily opens the roof above the room next to the curb or wall. We work with the building contact to protect sensitive areas below and plan how materials will move to and from the roof. Each day's work is sized so it can be closed up before we leave, with backing material, new flashing parts and any other trades ready. If water has reached ceilings or wiring inside, the right trades should inspect those, and we coordinate with them.
For reroofing and repairs over occupied buildings, we only open what we can protect. If work has to pause, temporary protection is installed and checked so water drains off the roof properly. We tell the owner what is done and what is still waiting, and if a new leak appears, we check the temporary work first. Crews take care not to damage nearby roof areas and equipment while carrying material across the roof.
After the Repair
When the flashing is finished, we check the seams, corners and terminations, as well as the connection to the existing membrane. Photos show the new flashing, any replaced wood or insulation and the completed repair. Any wall, equipment or interior problems that need another trade are listed separately. We also recommend that service technicians avoid stepping on or damaging new flashing during later equipment work. If a new leak appears, we inspect the roof as it is, rather than assuming the same cause.
A roof condition report summarizes what we found and what we fixed. Interior repairs such as ceiling tiles can go ahead once the roof is watertight, but wet materials inside should be checked before they are kept. If water comes back, let us know when it happened and where it first appeared. Leaks around curbs and walls can be reported on weekends or overnight, and we will arrange a response based on the problem and the access available.
Commercial Roofing Questions
Why do flashings fail at corners?
Corners are where the flashing material has to fold or be cut around a change in direction. Poor forming, loose fasteners and rotten wood behind the flashing all show up there first.
Can you just add sealant to a leaking flashing?
Sealant can be a short-term fix, but it rarely lasts if the flashing is loose or the wood behind it is rotten. A permanent repair rebuilds the flashing on a sound base.
Why might the repair be larger than the visible damage?
The new flashing has to bond to clean, sound membrane, and wet insulation or wood behind the flashing must be replaced. Both can extend the repair beyond the visible opening.
Will my building be exposed during the repair?
Only briefly. We open what we can close the same day and install temporary protection if the work has to pause.
What do I get when the work is done?
Photos and a short written summary of what was repaired, what was replaced behind the flashing and any issues that need another trade.
Get a leaking flashing fixed properly
Tell us where the water shows up inside and where you think it is coming from on the roof. We will inspect the flashing, photograph what we find and explain the repair.